Let me preface this post by saying that the photos provided on this RODI water system are all located in a temporary corner of my garage, and have been installed for the past 2 months or so as a proof of concept. We are waiting to move to a more permanent location to install it more permanently then (More on this later).
The goal of this DIY project was to create 0 PPM and 0 TDS on-demand water storage to use for mixing chemicals, and to also feed the pressure washer set up for a spot-free rinse. Sure, there are many pre-built systems out there, but none that came with the challenge of learning how to build (or troubleshoot) it yourself, and none (that I could find) that was as affordable as this.
Tools and materials used for this project:
Aquatic Life Dual Deionization & Spot Free Car Rinse Systems
Kerick Valve M252 PVC Mini Float Valve, Tank Mount, Fixed Arm, 1.5 gpm at 60 psi, 1/4" Tube
RAINPAL Brass Rain Barrel Quarter Turn Ball Valve Spigot with Bulkhead Fitting
55 Gallon Drum (Get it locally)
As detailers, we actually don’t use that much water, maybe 10gal max per wash? — so you don’t really need a large capacity RO system. We scored a deal on a 6-stage 75 GPD Reverse Osmosis on Slickdeals (which admittedly I am addicted to). That is more than enough capacity, especially considering that we would store this water in a 55 gallon water drum in lieu of the included dinky water tank. That’s 55 gallons of 0 PPM/0 TDS water available on demand.
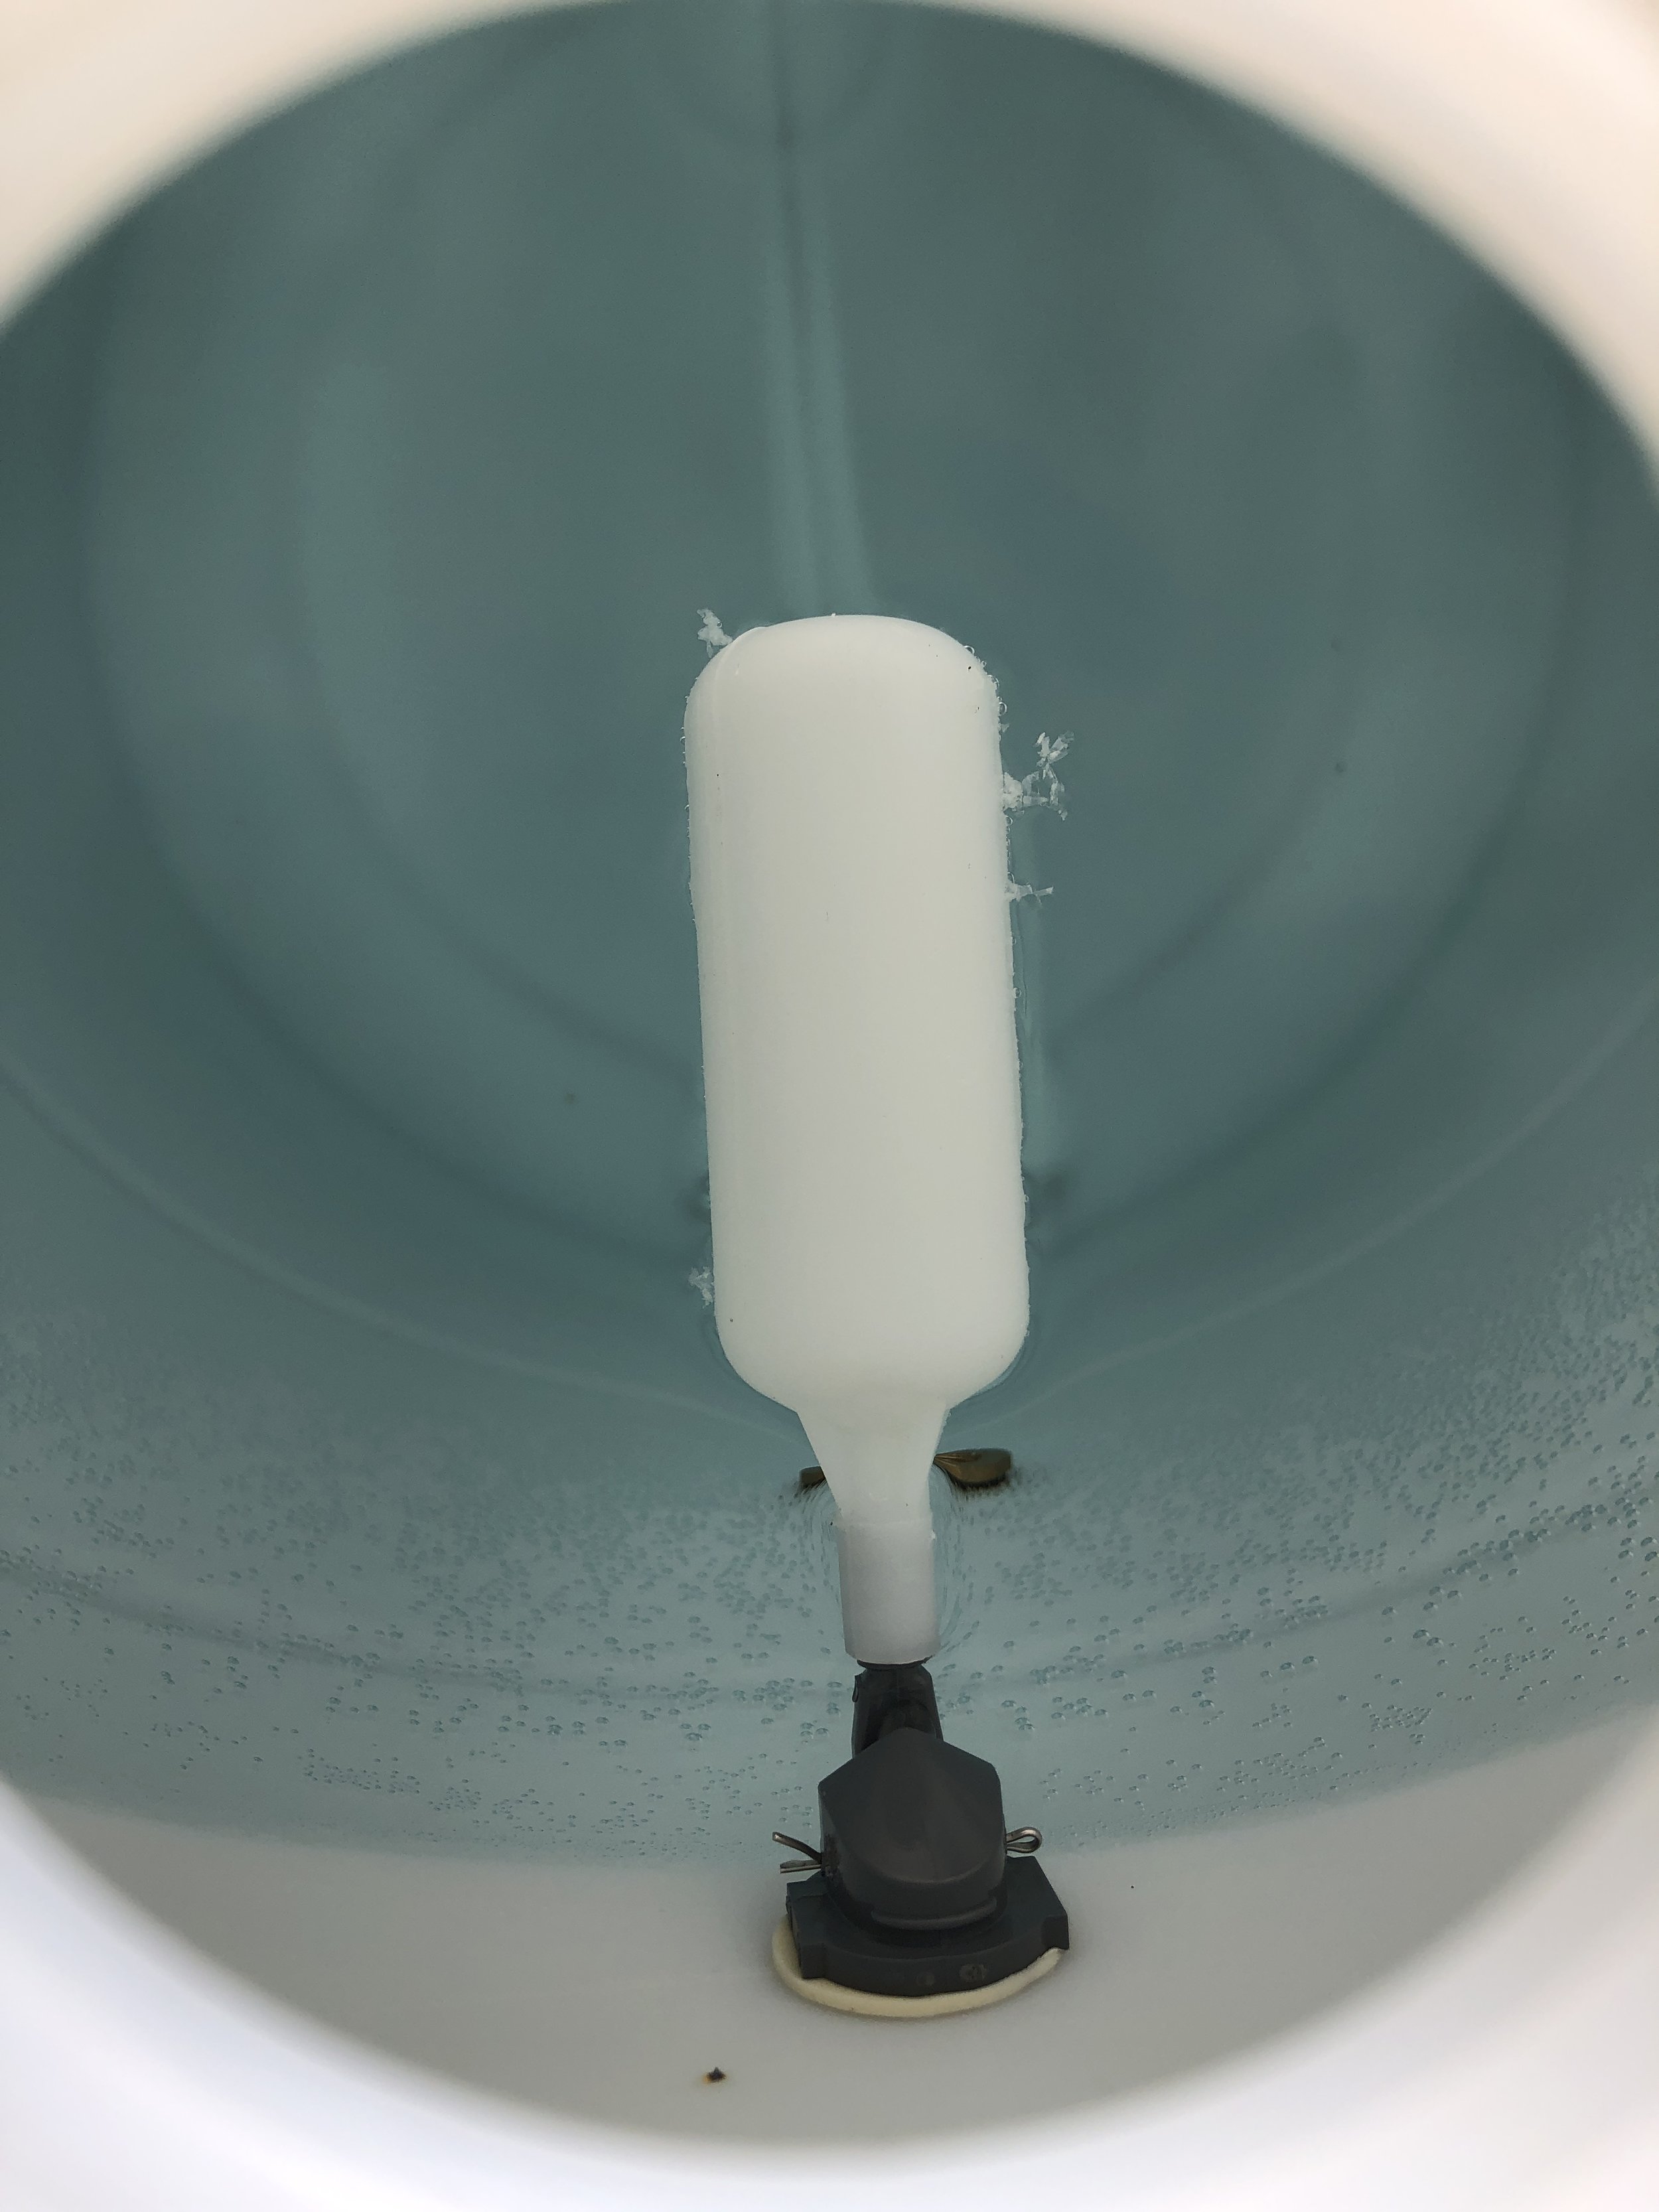
RODI units already do a great job, but since we had a dual deionization water filtration unit from Aquatic Life sitting around (for my fish tank that I never used), we decided to run the effluent water through the DI system to further break it down as added insurance. Since the effluent water coming out of the RO system is already down to single or dual digit PPM/TDS, this added dual layers of resin should surely bring it down to the single digits. Peep the picture, there is a little bit of resin color change on the bottom, and this is after running this set up for over 2 months, and so it’s got to be doing something right? I’ve ordered a TDS meter, which should be here in a couple weeks to confirm (I’ll update this then with actual numbers)

Edit 4/18/19 - Meter is here — 0 PPM!

The harder part of the equation was how to upgrade the little kit 1-2 gallon tank to something much more substantial? Thankfully there is Craigslist and Facebook marketplace nowadays, and so a quick search on those platforms guided me to a sweet old lady a city away, who sold me this new 55 gallon water drum for $15. It seems to be the going rate on the private market.
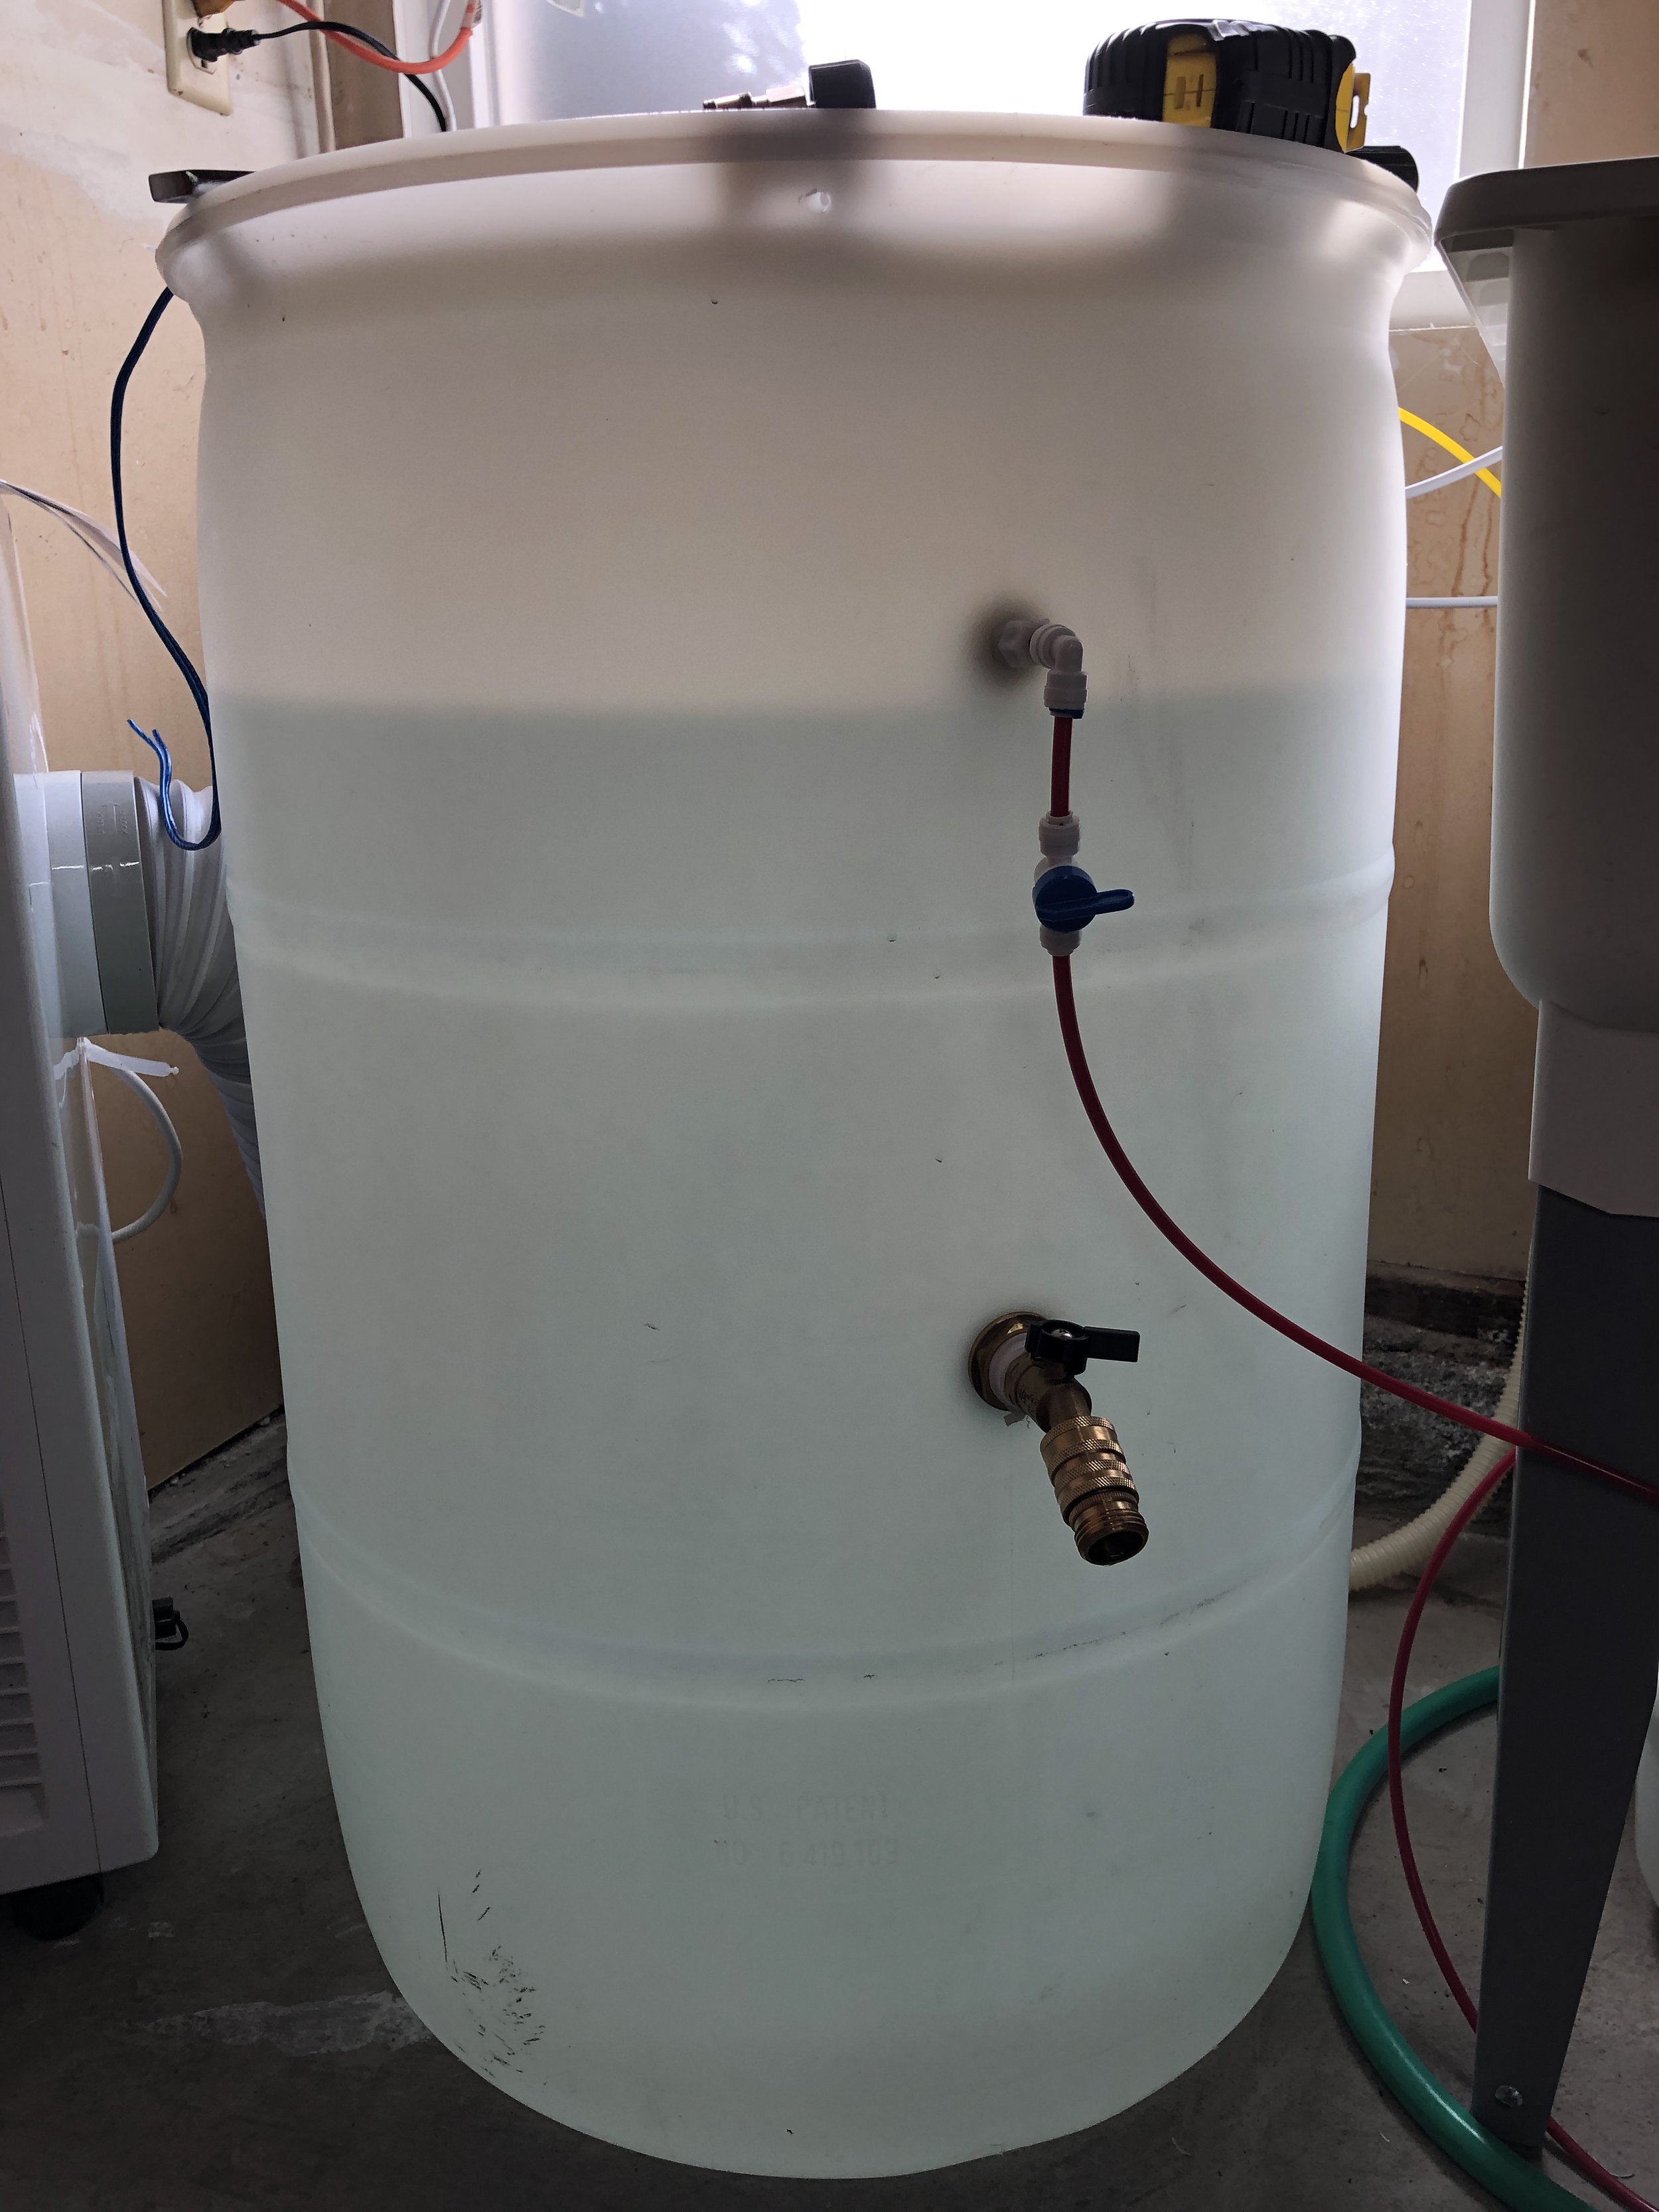
The next part of the equation took a bit more time to research. At the end of the day, I had watched a dozen reef tank YouTube videos, and another dozen or so of mobile detailer wash rig setups to get a better idea of what I wanted. Firstly, I wanted the system to be fully automatic, as in self-replenishing. This led me to what is called a float valve, where the water stops flowing in as soon as the water pushes the “float” up to seal the valve. This height is near where you drill your hole on the outside. I drilled mine about 6” down from the top.
Secondly, I wanted an outlet to fill buckets or bottles easily. This led me to what is called a bulk head fitting. You will need a hole saw to drill your hole for the bulk head fitting. We used a 3/4” bulk head fitting, which came with a grommet, and we’ve no issues with leakage. If you any larger, you may want to consider a Uni-seal, which is better fitted for a curved fascia. I located the spigot such that a 5 gallon bucket can easily slide under the spigot.

Thirdly, I wanted to gravity feed the pressure washer this RO water as to reduce the number of hoses running around. I have not gotten around to doing this yet, as I will build a stand to lift this barrel up in order to place the pressure washer underneath it in order for the gravity feed to work. I will add one more bulk head fitting at the bottom of the barrel.
At the spigot outlet, about midway up the 55 gal drum, using a 5 gallon bucket, it took just shy of 2.5 minutes to fill. Simple math tells us that the spigot effluent has a discharge rate of 2 GPM. So adding a new outlet at the bottom of the barrel should provide a slightly more flow due to the added mass times the acceleration of gravity (F=mg). My pressure washer is rated 2GPM (More like 1.8GPM in reality), and so since the influent flow rate is greater than the effluent flow rate, this should work just fine. If you need a higher flow rate, you can (i) lift your barrel up so that gravity helps you more, or (ii) install in-line a small water pump, preferably one that auto shuts on/off.
(OPTIONAL) To maintain functionality of the RO water faucet, which is fed through the pressurized 1-gal tank into my utility sink, I used a 1/4” RO “Tee” with a flow restrictor valve. Since the head (height) of the water in the barrel has the potential to be higher than both the small tank and the RO system, I did not want to run into any backflow issues. The flow restrictor stops water from traveling the opposite direction. This allows the faucet to still be functional (pressurized), while allowing a one-way passage to the 55-gallon drum. Now, when the drum needs to be replenished, the pressurized tank will unload itself into the drum until the float valve is closed, and at the same time the RO system will replenish the tank. This part is completely optional if you do not want to R.O the water coming out of your sink. You can simply cap the sink outlet, and have the system only fill the tank; in that case you can completely eliminate the pressurized tank as well.

Approximate Cost of project: $200
Time: 1-3 Hours
Difficulty: Easy to Medium